Saturday, June 25, 2011

Session 2, Lesson 2! Plus a fishy intro.....

The second art class of session II was interesting. I learned that no matter how many projects you have planned, some of the kids will blow through them so fast, you're left with ample time to figure out how to keep them occupied. I should have known this already from teaching K-8, but those classes were 50 minutes each, not two hours like these summer sessions at home. I also learned that with this session I need help. Thank you Lauren for being an awesome teaching assistant!

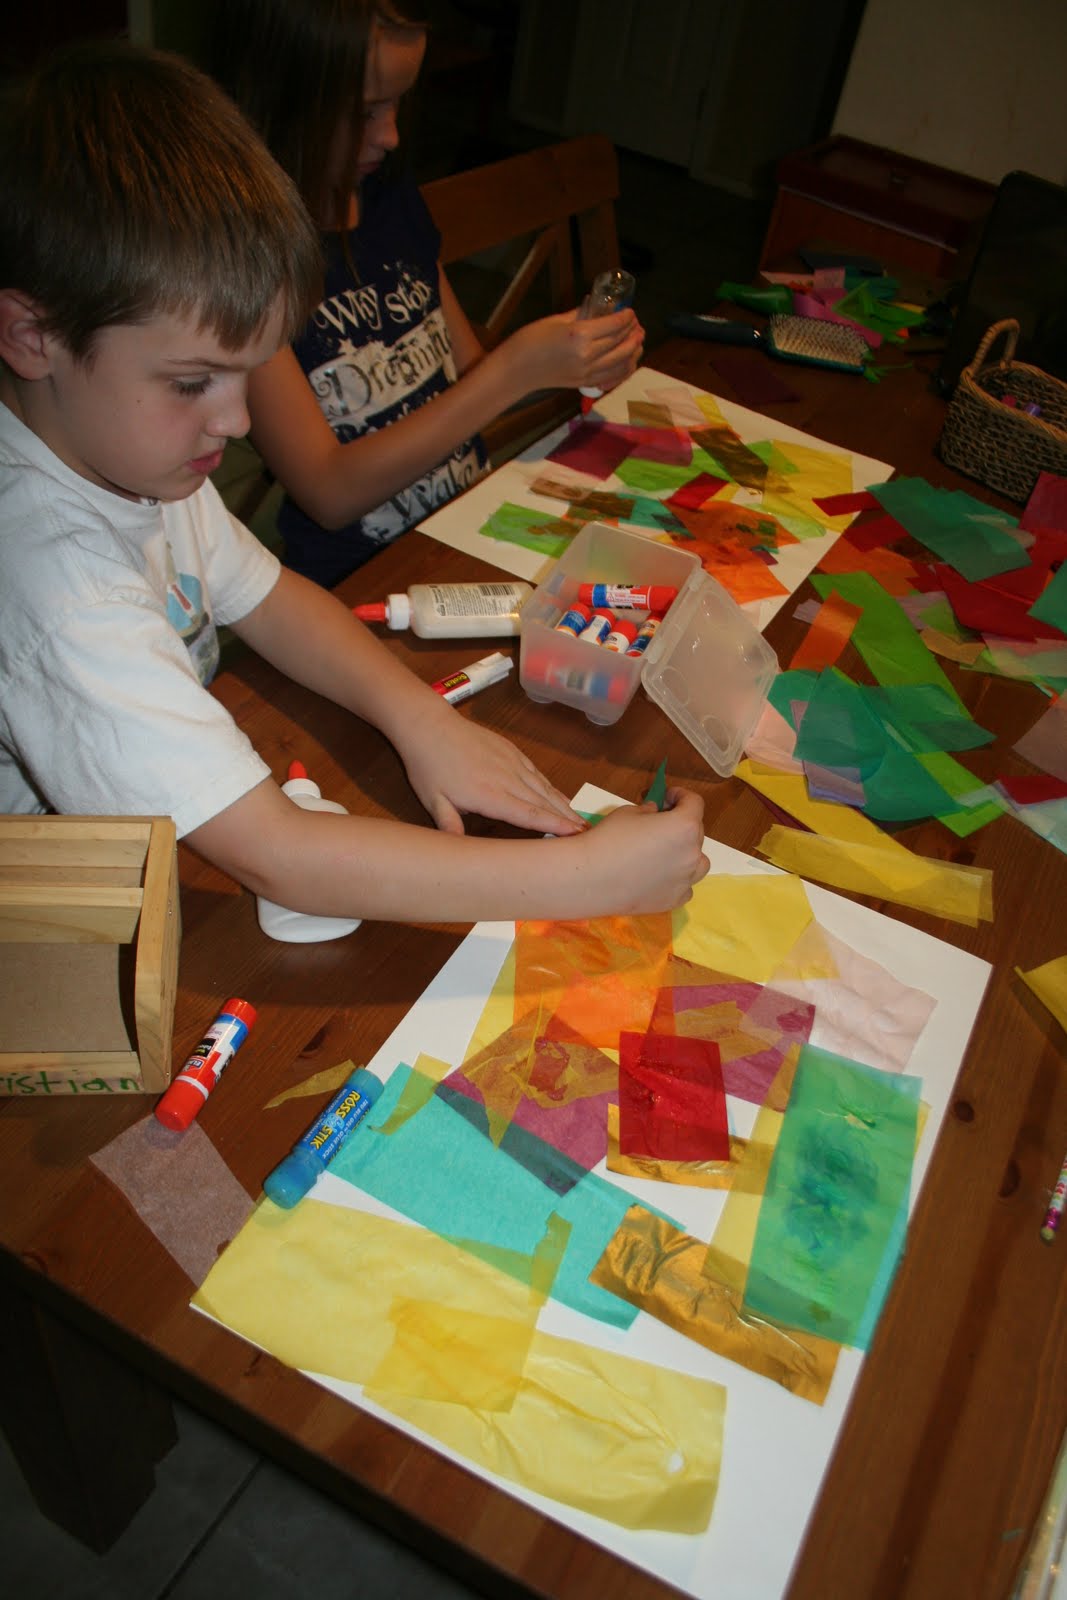
I presented Matisse's "Beasts of the Sea" (top, left) and how it was going to be used as inspiration using collage techniques with tissue paper and colored construction paper.

Putting together their own composition:


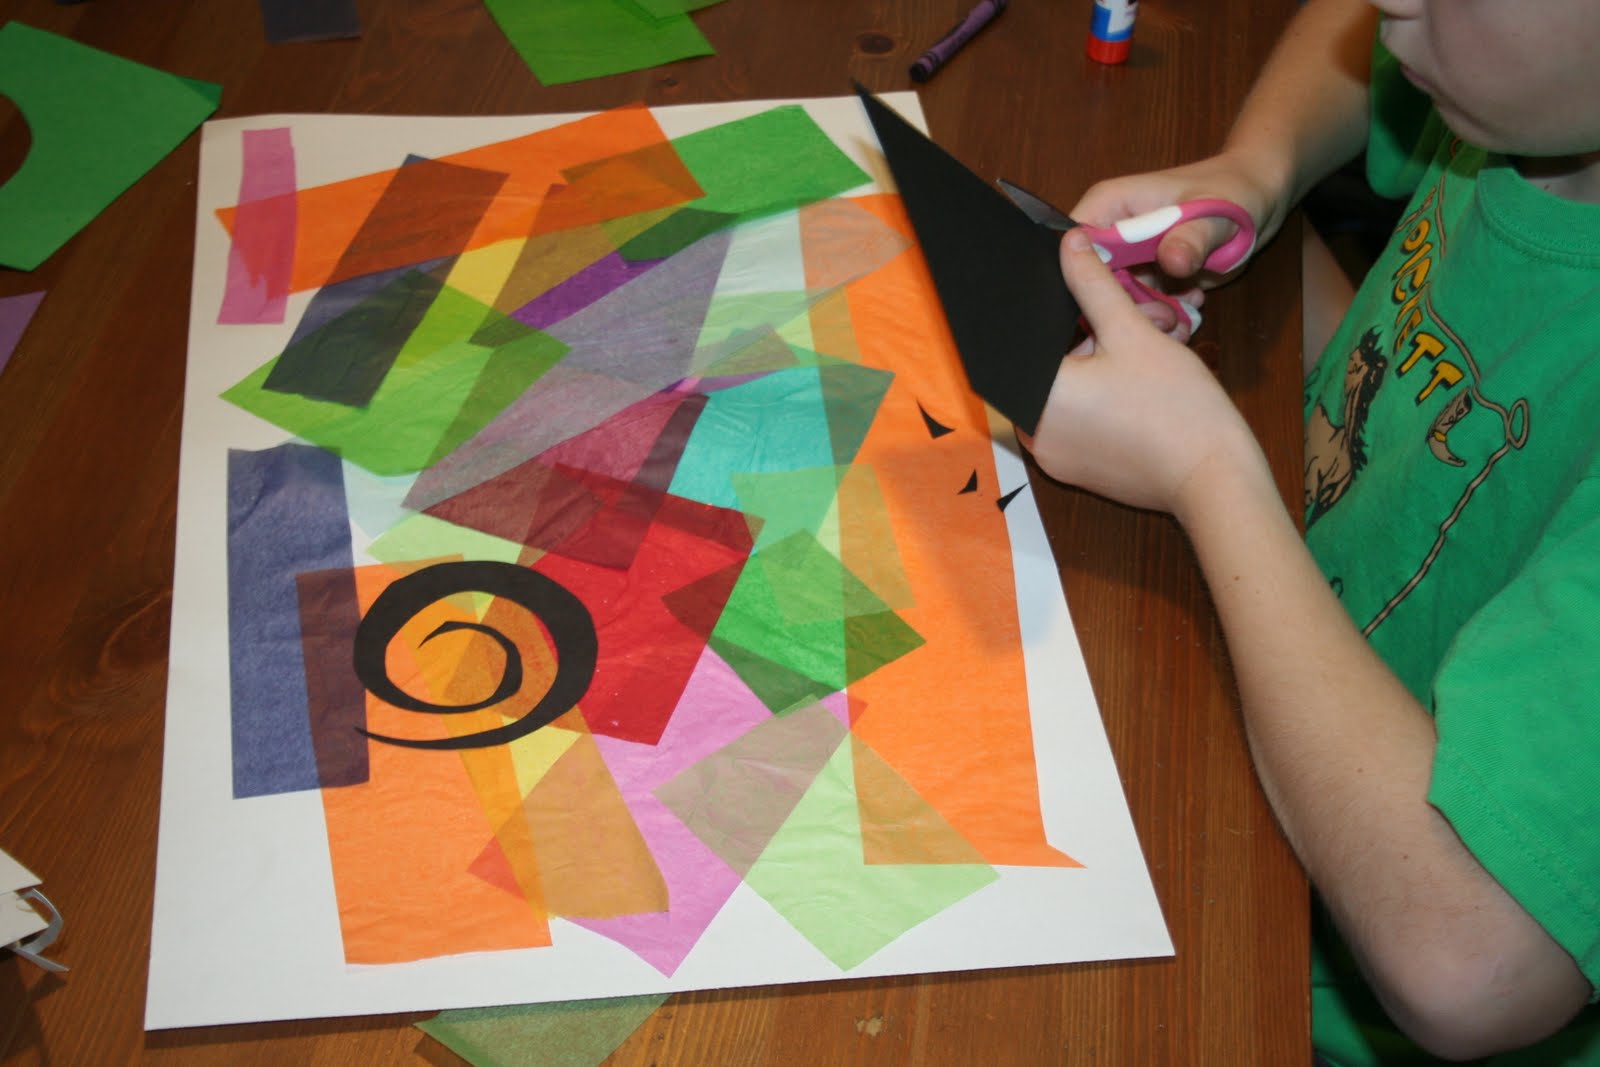
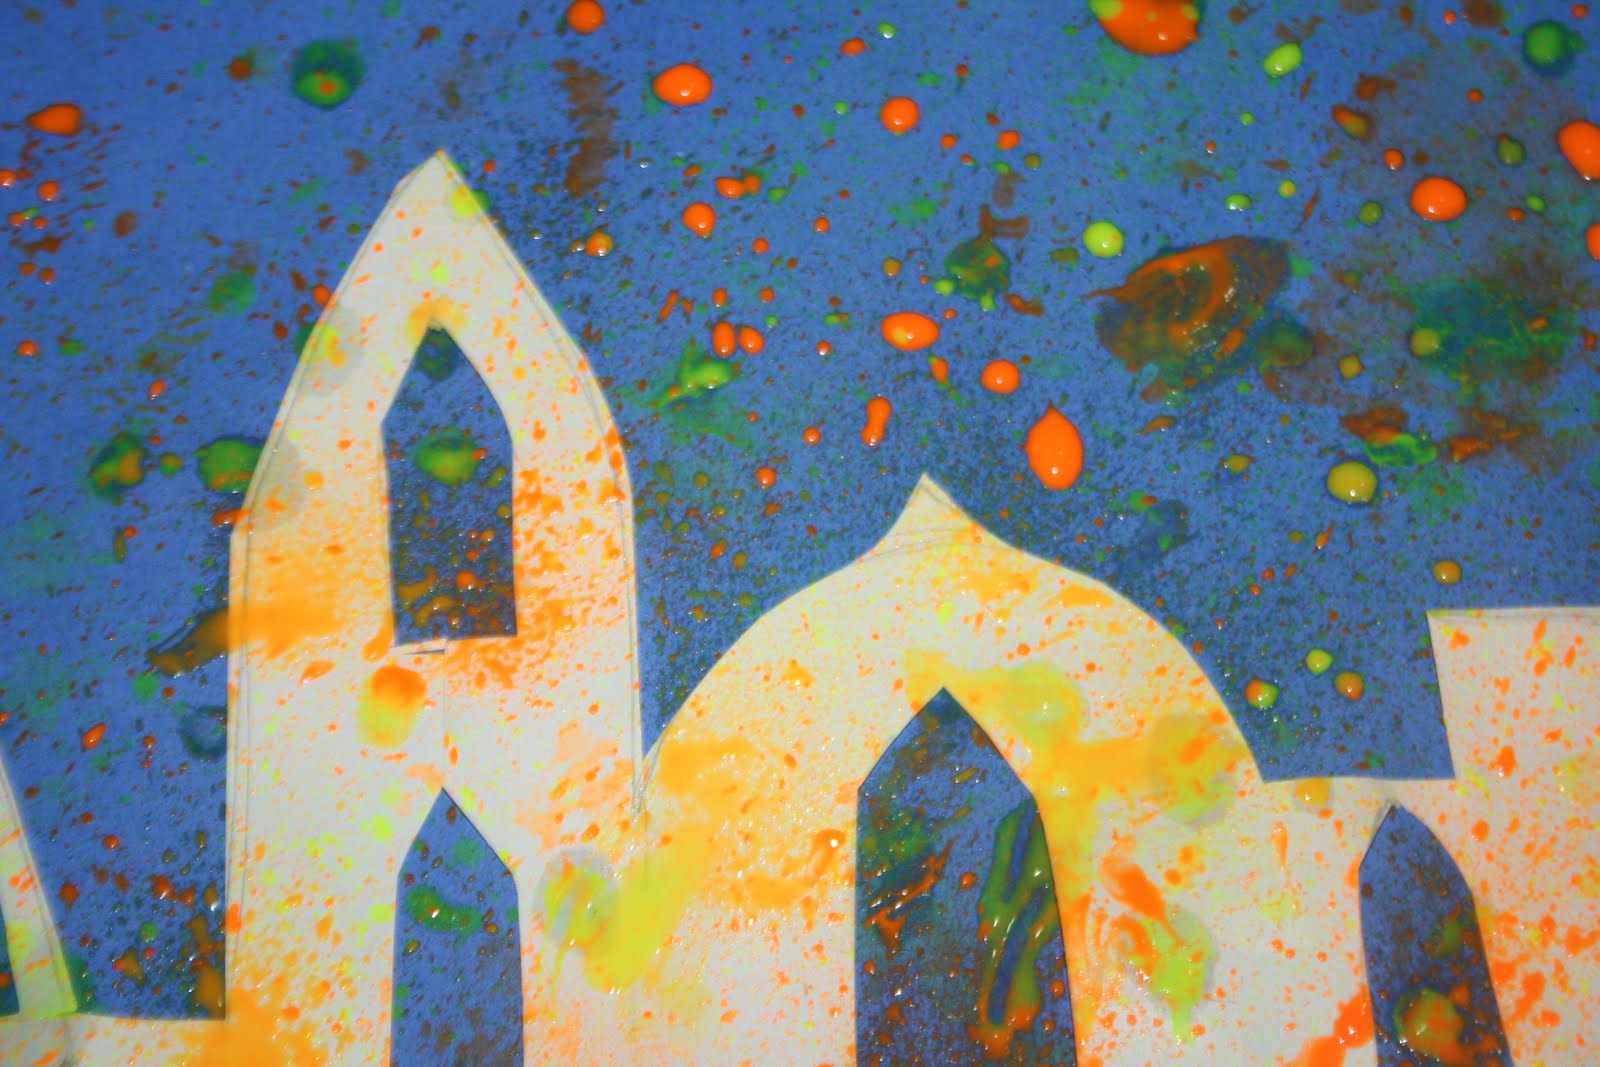
And the fun results! Seriously, if these could be framed and hung on a wall, it makes such a beautiful addition! I'll consider having Mikelle and Christian make a few more of these and we can get them framed and mounted for a fun area of the house in Wickenburg (when we build it of course! By then I'm sure AleXander can contribute!)


Tomorrow is Lesson 3 of Session 2, and Watercolor Discovery will make its way back PLUS, a colorful watercolor fish project. Despite some emotional crises, I had Mikelle and Christian going to town on this one.

You start with a black crayon and fill the surface of the watercolor paper with a fun profile of a fish. Put in fins and sections. Here is Christian's:


Then using watercolor paint, artist fills in the sections with vibrant color as demonstrated by Christian and Mikelle:


After it dries, the artist goes over the black crayon sections again.

Then cut out the fishy with a white "bubble" around it. (Yes, Mikelle is a lefty!)


Select a colored piece of construction paper and glue it on the colored paper:

I did this project with some of my elementary school students back at Heartland a couple years ago. Here is their impressive "school of fish" on the wall of the classroom. As you can see, some collage or just simple drawing elements can be added for more sea-life emphasis!

Wednesday, June 22, 2011

6 Months Today ....Wow!

I'm not a fan of how fast babies grow. It just doesn't give us enough time to really savor the fleeting time in their lives.

AleXander is 6 months today. This was taken today to commemorate the event. He's not crawling yet, but he gets around plenty! He loves to roll! Roll roll roll roll roll roll roll. He is also so inquisitive of how he looks interested in other objects and how he reaches for them.

Magazine Goofing
While taking some 6-month snapshots of the baby, Mikelle and I were also cutting out facial features from magazines as part of today's art lesson. She began to play around with them and one of them was pretty scary! There's too much of a realistic appearance it gave!


Then she tried to get AleXander involved. It was a little more difficult concerning his tenacity to reach up and grab things.


And before we close this entry to move on to today's art lesson, we have to end with this "moment of Chritian" from two nights ago.

Christian: Mom! Mom! Mom!
Me: What?!
Christian: Your Ipod is fully charged.
Me: Thanks. So are you.

Tuesday, June 21, 2011

Session 2 Kick-Off! Collage with Picasso and Matisse!

Monday was the first lesson of Session 2. We began with the concept of "collage" and the students were told about Pablo Picasso. Picasso was famous for many innovative techniques, including the use of collage in mainstream popular art. His 1921 work "The Three Musicians" was to be the inspiration for our first project.


I love the "Three Musicians" Collage lesson because it works with all grade levels. I've taught it with the young grades and modified it for high school. This link takes you to an older blog entry that shows my elementary school musicians and click here to see some of the high school students' Three Musician Collages from Fall 2010.

Music influences us all and in different ways. Therefore, a piece of artwork from 90 years ago can still speak to us today, because music is still a part of our lives and will be in one way or another. That is another reason I love this project so much - this lesson in art history doesn't feel like a stuffy art history lesson. It really inspires students (all grades) to come up with their own musical "composition" in collage.


And quite the variety of musical results!!!
kjkj


Matisse-Inspired Tissue Paper Collage

For tomorrow's lesson, we're taking the Collage approach into more of an "abstract" direction with bright colors. Our artwork of inspiration is 1950's "Beasts of the Sea" by Henri Matisse.

Tonight I had my own personal art subjects (age 10 and age 7 offspring) work on this project.

Taking Matisse's composition as inspiration, the transparent colorful effects are achieved with tissue paper in squares or rectangular shapes. They can be arranged however the artist wants, but some overlapping is encouraged.


On top of the tissue paper are the swirls and other shapes.


Once the tissue paper is glued on a large portion of the paper surface and the artist is happy with the composition, the swirls and other shapes are added.


And here are Mikelle and Christian's final results of their Matisse collage!

Monday, June 20, 2011

Last lesson for first Summer Art Session! Mixed Media Cityscape: Masking, Splattering and Oil Pastel!

Ack! I'm behind on getting the lesson updates and masterpieces posted!

The last lesson for the first session was last Wednesday. It had its interesting moments.

This lesson uses some "spattering" methods, so we talked a little about Jackson Pollock (for more info on him, go here).

Then we would move on to some oil pastel (same medium we used on our funky cats). Therefore, this was a mixed media project to end the session! First, the artist starts with two pieces of paper. One piece is a colored sheet of the artist's choice of a background color - the other is white.


On the white paper, sketch a light "cityscape". It can be modern, whimsical, geographically specific - it's up to the artist!


Then the white cityscape is cut out.


The cut out cityscape is placed on the colored paper. It's not glued or taped down. Rocks or other heavy but small objects can be placed on it to keep it down.

On a newspaper or other covered service outside, the artist begins to splatter the sky area with paint (in this case, we used washable school paint) with an old toothbrush. It's important to get splatters densely around the top of the cityscape as well.


When the splattering is complete and DRY (very important!), the artist removes the white cityscape sheet.

Oil pastel is then used to add the highlights and cityscape details.


Two of the major issues that we ran into with this project on Wed was one, some of the students struggled with being able to splatter effectively. Unlike Jackson Pollock, we weren't going to throw the paint across the room onto a huge canvas (unless they wanted Ms. Jill to have a heart attack). It took some trial and error to use the toothbrush and get the hang of the splattering. The second major issue was when the wet spatter was sitting on the hot porch to quickly dry, the sprinklers came on. It turned into a helpful accident on some (the water helped reveal the unmasked area), and not so much on the others.

However, in the end, we did have a fun variety of colors and cityscapes! I think the kids enjoyed it!